How To Fix a Hole In An Inflatable Mattress: Step‑by‑Step FAQ Guide
If you’re searching for how to fix a hole in an inflatable mattress, you’re usually dealing with a slow air leak, a sudden flat bed, or a tiny puncture you can’t see. This FAQ-style guide walks through how to find the leak, how to patch it, and when it makes sense to stop repairing and consider replacing the mattress.
How do I know if my inflatable mattress has a hole?
Most people notice a leak when the mattress is fully inflated at night and partly flat by morning. Common signs include:
- You hear a faint hissing sound
- The mattress feels softer every hour
- You see visible damage like a scratch, tear, or puncture
To confirm a leak:
- Fully inflate the mattress and close the valve.
- Lie down or add some weight for a few minutes.
- Check whether it noticeably softens or sags.
If it loses firmness without any visible valve problem, you’re likely dealing with a hole.
How do I find the hole in my inflatable mattress?
Locating the leak is often the hardest part of how to fix a hole in an inflatable mattress.
Basic methods to find a leak
Visual and touch inspection
- Lay the mattress on a clean floor.
- Check the seams, corners, and underside first, since these are common weak spots.
- Run your hand slowly over the surface and feel for cool air on your skin.
Soapy water method
- Mix a small amount of dish soap with water.
- Lightly sponge or spray it over sections of the inflated mattress.
- Look for small bubbles forming and growing—this usually marks the leak.
Submersion (only for smaller areas and if safe)
- For small, removable sections or edges, you can dip a part of the mattress in water (like a bathtub).
- Watch for streams of bubbles.
- Avoid fully submerging electrical parts or built-in pumps.
Once you find the hole, mark it clearly with a piece of tape or a pen so you don’t lose track when you deflate the mattress.
What do I need to fix a hole in an inflatable mattress?
Most repairs can be done with simple tools and a patch. Typical items include:
- Mild soap and water (for cleaning the area)
- A soft cloth or paper towel
- Scissors (for trimming a patch)
- A patch kit (often comes with the mattress) or similar material
- Adhesive suitable for vinyl or PVC (if not included in the kit)
📝 Tip: Using the patch material recommended by the manufacturer usually leads to a more reliable seal than random tapes or glues.
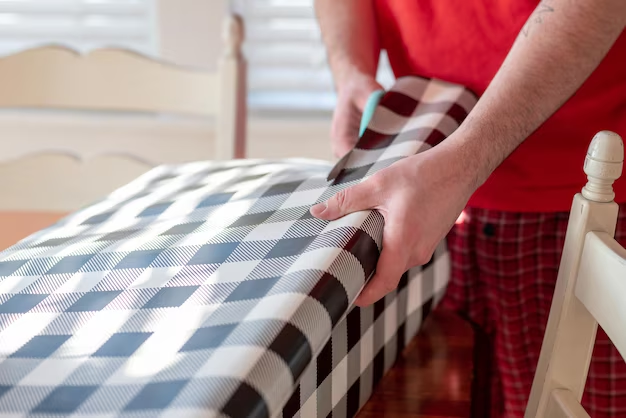
Step-by-step: How to fix a hole in an inflatable mattress
Here is a general process that works for many inflatable mattresses:
Deflate the mattress completely
- This prevents trapped air from pushing against the patch.
- Lay it flat on a clean, dry surface.
Clean and dry the area around the leak
- Use mild soap and water to remove dirt, body oils, or dust.
- Wipe dry and allow the area to air dry completely.
- A clean surface helps the patch bond better.
Prepare the patch
- If using a kit, cut a patch so it extends at least 1–2 cm beyond the hole on all sides.
- Round the corners of the patch with scissors to reduce peeling.
Apply adhesive (if required)
- Some patches are self-adhesive; others need a thin, even layer of glue.
- Follow any included instructions about drying or waiting times.
Place and press the patch
- Carefully position the patch over the hole.
- Press firmly from the center outward to remove air bubbles.
- Use a flat object (like the side of a clean spoon or card) to smooth it down.
Let the patch cure
- Leave the mattress flat and untouched for the recommended time (often several hours).
- Avoid inflating too soon, as this can weaken the bond.
Test the repair
- Gently reinflate the mattress.
- Listen and feel around the patch for escaping air.
- If it holds steady, the repair is likely successful.
Can I use tape or household glue instead of a patch kit?
Many people wonder if they can fix a leak quickly with duct tape or generic glue.
- Tape alone often works only as a temporary fix. It may peel off when the mattress flexes or when exposed to heat, moisture, or body movement.
- Household glues not meant for vinyl or PVC may crack, stay tacky, or weaken the material.
For a more durable repair, patches designed for inflatable materials generally perform better than improvised solutions.
What if the hole is on a seam or near the valve?
Holes on seams, corners, or around the valve are harder to repair:
- Patches may not fully seal over raised or uneven areas.
- Seams are under more stress when you lie on the mattress.
In these cases, you can still try the standard patch method, but understand it may not last as long. If the seam itself is splitting widely or the valve area is damaged, the mattress may be difficult to repair reliably.
When should I stop trying to fix my inflatable mattress?
Repairing is usually practical when:
- There is one small puncture or tear
- The surface around the hole is flat and intact
- The mattress still feels comfortable and supportive after inflation
It may be less practical to keep repairing when:
- There are multiple leaks appearing over time
- The material feels thin, brittle, or heavily stretched
- Seams are splitting or the valve is failing
In those situations, repeated patching may only provide short-term relief.
✔️ Quick Mattress Takeaways
Key points about how to fix a hole in an inflatable mattress
- Confirm the leak by fully inflating, checking the valve, and monitoring for softening.
- Find the hole using touch, listening for hissing, or the soapy water bubble method.
- Clean and dry the area thoroughly before any patching.
- Use a proper patch that overlaps the hole and is compatible with your mattress material.
- Let the patch cure fully before sleeping on the mattress again.
- Seam or valve leaks are harder to fix and may not hold long-term.
- Multiple or recurring leaks can indicate that the mattress material is wearing out.
With a bit of patience and the right materials, how to fix a hole in an inflatable mattress usually comes down to careful leak detection, proper surface preparation, and a well-applied patch.