How To Stop a Leak In An Air Mattress: Simple Steps That Actually Work
If you’re searching for how to stop a leak in an air mattress, you’re likely dealing with a slowly sagging bed or a sudden overnight deflation. This guide walks through how to find the leak, how to repair it, and when it may be time to replace the mattress—all in practical, step-by-step language.
What Causes Air Mattress Leaks in the First Place?
Air mattresses usually leak because of:
- Punctures or small tears in the surface or seams
- Stress around the valve from movement or overinflation
- Wear and aging of the material after repeated use, folding, and storage
Understanding the cause helps you decide whether repairing or replacing the mattress makes more sense.
How To Stop a Leak In An Air Mattress: Step‑by‑Step
1. Confirm There’s Really a Leak
Before trying repairs, make sure it’s not just:
- Natural overnight air loss from temperature changes
- A loose or partially closed valve
Fully inflate the mattress, secure the valve, and lay on it for a few minutes. If it noticeably deflates, you likely have a leak.
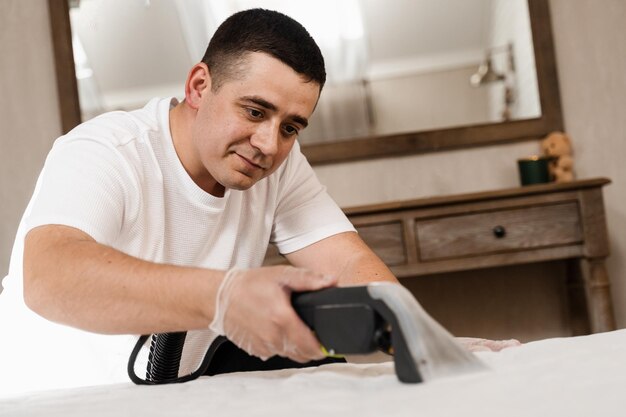
2. How Do I Find the Leak?
Finding the leak is usually the hardest part of how to stop a leak in an air mattress.
Common methods:
Visual and touch inspection
- Inflate the mattress firmly.
- Check the valve area first—it’s a frequent trouble spot.
- Run your hand over the surface to feel for a faint stream of air.
Soapy water test
- Mix a small amount of mild soap and water.
- Gently apply to seams, valve, and suspected areas using a cloth or sponge.
- Watch for growing bubbles, which indicate escaping air.
- Wipe dry and mark the spot with a pen or tape.
Submersion test (for smaller mattresses or parts)
- If safe and manageable, you can submerge sections of the mattress in a bathtub.
- Look for air bubbles.
- This is not practical for large mattresses or those with electrical components.
Take your time here—a missed leak means a failed repair.
3. How Do I Patch the Leak Properly?
Once you’ve located the leak:
Deflate the mattress completely
- This prevents air pressure from lifting your patch or glue.
Clean and dry the area
- Wipe with mild soap and water, then dry thoroughly.
- Avoid harsh cleaners, which may weaken the material.
Roughen the surface slightly (if needed)
- Some mattress materials accept patches better if lightly scuffed with very fine sandpaper.
- Be gentle—this step is only for sturdy surfaces, not thin flocked tops that could tear.
Apply the patch
- Many air mattresses come with repair kits that include patches and adhesive.
- Follow the instructions from the kit, as adhesives can vary.
- Usually, you’ll:
- Spread a thin layer of adhesive over and around the hole.
- Press the patch firmly over the leak.
- Smooth out air bubbles and hold in place for the recommended time.
Let it cure fully
- Give the adhesive the full drying or curing time before reinflating.
- Rushing this step is a common reason repairs fail.
4. What If the Leak Is at the Valve or Seam?
Valve leaks and seam leaks can be trickier:
Valve issues
- Make sure the valve is fully closed and seated.
- Inspect for cracks around the valve base.
- Some valves can be tightened or reseated by pressing firmly or twisting (follow the mattress instructions if available).
- If the valve hardware is damaged, long-term repair may be difficult.
Seam leaks
- These happen where panels are welded together.
- Small seam leaks may be patchable, but stress at these points is high, so repairs might not last as long as those on flat areas.
For both, you can attempt a patch around the area, but understand it might be a temporary fix.
5. How Can I Prevent Future Leaks?
To protect your repair and extend the life of the mattress:
- Avoid overinflation – firmer is not always better; too much pressure stresses seams.
- Use a protective layer – place a mat, blanket, or rug under the mattress, especially on rough or hard floors.
- Keep sharp objects away – pet claws, jewelry, and tools can easily cause tiny punctures.
- Store it carefully – fully deflate, fold loosely without sharp creases, and store in a dry place away from extreme heat or cold.
These simple habits reduce the chances you’ll need to learn how to stop a leak in an air mattress again soon.
When Is It Better to Replace the Air Mattress?
Repair makes the most sense when:
- The leak is small and easy to access
- The mattress is relatively new and otherwise comfortable
Replacement may be more practical when:
- There are multiple leaks appearing over time
- The material feels thin, brittle, or stretched
- Leaks are at large seams or a damaged valve
From a mattress buying and selection perspective, repeated leaks might be a sign to consider a sturdier design, thicker materials, or a style that better suits how often and how heavily the mattress is used.
✅ Quick Mattress Takeaways
Key points consumers should understand about How To Stop a Leak In An Air Mattress
- Find the leak first using touch, listening, or a soapy water test.
- Check the valve and seams before assuming there’s a hole in the surface.
- Clean, dry, and fully deflate the mattress before applying any patch.
- Use a proper patch kit and allow full curing time for the adhesive.
- Valve and seam leaks are harder to fix and may not be permanent.
- Prevent new leaks by avoiding overinflation, protecting the bottom surface, and storing the mattress carefully.
- If leaks keep returning, consider whether a different air mattress design or material would better match your usage.
With a calm, methodical approach, many small leaks can be handled at home, giving your air mattress more usable life and more comfortable nights.